
Many of the light fixtures in older homes are activated by pulling a cord or chain attached to the fixture. It’s not always the most convenient thing to walk into the middle of a dark room, where the light fixture usually is, only to pull the chain to switch it on.
The average homeowner with the correct set of tools, some basic know-how, and the utmost care may accomplish medium-level do-it-yourself work, installing a switch leg for a light fixture.
Following these steps, you’ll have no trouble wiring a switch leg. It should take about three to four hours to set up.
Prep:
If you want to transfer rooms, make a mark on the wall.
Find the light’s circuit breaker or fuse.
Turn on the extra bulb if it gets dark.
Collect the necessary equipment. A hammer, screwdriver, keyhole saw, and a snake will be handy.
Collect the necessary supplies. An old tool box, a switch and cover plate, Madison bars, a length of 14/2 Romex, wire nuts, electrical tape, and some touch-up plaster are all you need to get started.
Method:
Joists in a house are typically placed on 16-inch centers and run horizontally.
The strapping will be placed at 16-inch intervals front to back throughout the length of the home.
That way, you know you’ll have somewhere to run your cables.
Cover the floor beneath the workspace with a drop cloth.
First, find the box the light switch will be installed in and remove a knockout in the direction the switch will face.
Second, since you can’t snake in a diagonal direction, you’ll need to cut a hole or two in the ceiling if the light switch isn’t in the same plane as the light fixture.
Third, using the snake, work the 14.2 Romex cable from the lamp to the wall above the switch into the ceiling.
A small hole must be drilled in the ceiling or wall just above the switch location to avoid the wall header.
Fifth, thread the cable through the wall into the opening you made for the old electrical box. When working with lathe and plaster, it’s best to position your old work box so that you may remove one complete lath piece and a little piece of the laths from the top and bottom of the box, respectively. Madison bars or sheet rock screws can be used to repair the box. After you’ve marked the box, you can chip away the plaster to expose the lathe, and then use a keyhole saw to cut around it precisely while holding the lathe in place.
6. Secure the ground wire to the old toolbox Using the screw from the removed, new clamp.
Once the cover plate is in place, connect the white and black wires to the switch screws and tighten them. The screw terminals are preferable to the stab connections.
8. Locate the light fixture’s hot wire and unscrew the nut holding it in place.
9 Connect the white Romex wire to the hot wire at the fixture and the black Romex wire to the neutral wire using wire nuts.
Tenth, ensure the light fixture’s ground wire is connected to the ground.
Eleven. Reattach the light to the ceiling.
Fill any holes in the wall with spackle or plaster of Paris and move on to step 12.
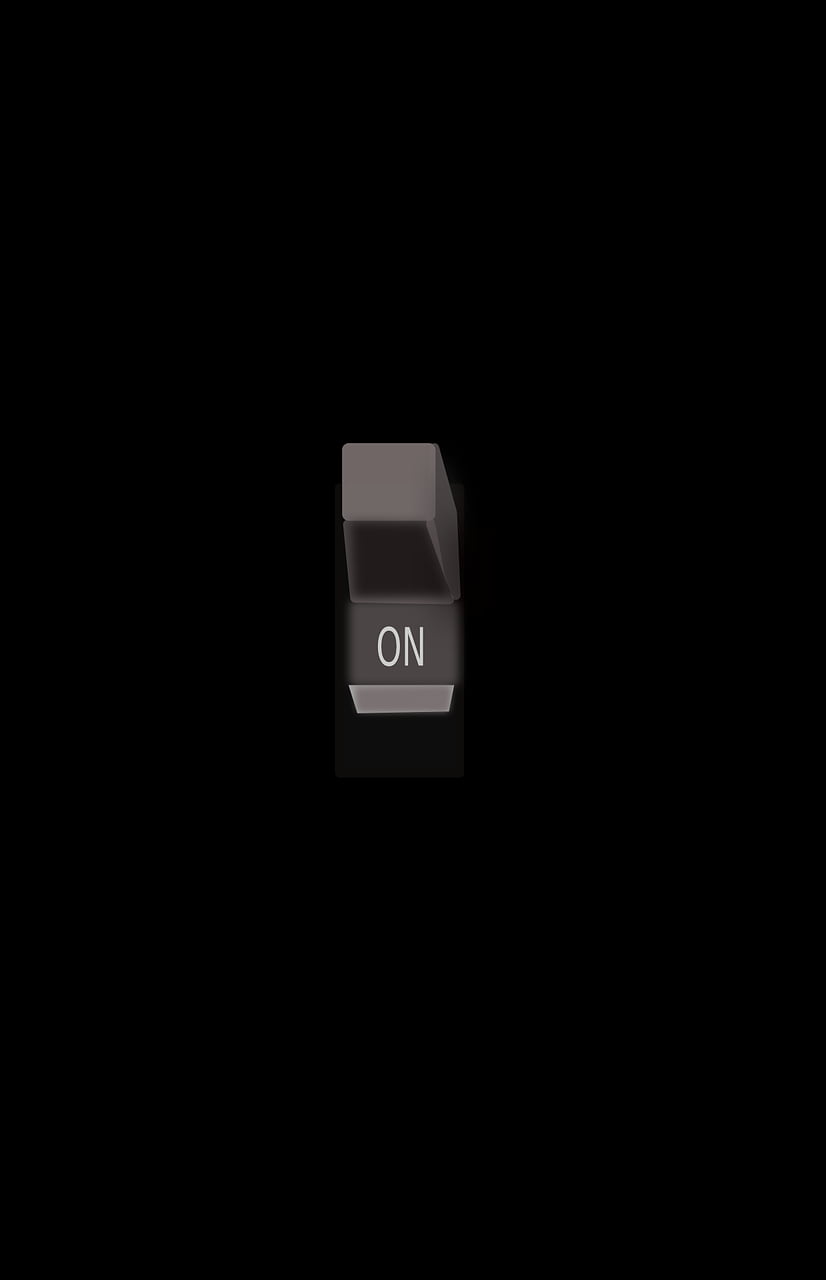
Please switch it on and see whether it works.
Freelance writer Christina NiBraonain has contributed to numerous online publications.
Use this points, calculator to determine the number of points in any dish.
Check out right-angle drills if you like power tools.
Read also: PERSONAL COMPUTER Slow? How I Keep Myself Personally Sober And Make My Computer System Faster